05 Jan Art of Cannulating Coronary Arteries while doing Angiogram
Cannulating coronary arteries is a fundamental skill in interventional cardiology. Precision, patience, and small technical adjustments often make the difference between a smooth, safe angiogram and a difficult or potentially traumatic attempt. This guide collects practical tips and tactical maneuvers for engaging the left and right coronary systems reliably, avoiding common pitfalls, and protecting the coronary ostium during both diagnostic angiography and angioplasty.
Table of Contents
- Why technique matters
- Checklist before any injection
- Left coronary cannulation: step-by-step maneuvers
- Common left-side problems and solutions
- Right coronary cannulation: practical tips
- Pitfalls, safety tips, and best practices
- Quick decision flow for difficult cannulation
- Tools and catheter selection—practical notes
- Common scenarios and how to approach them
- Final thoughts
- Frequently Asked Questions
- Selected visual references
- Summary
Why technique matters
Every coronary anatomy is unique. Standard catheters and routine maneuvers work the majority of times, but anomalies and subtle positional differences of the ostium demand deliberate variations in approach. The priorities during cannulation are:
- Safety: avoid forceful pushing that can injure the ostium.
- Visualization: choose the projection that best reveals the sinus and ostium.
- Coaxiality: obtain alignment so contrast injections are safe and diagnostic.
- Readiness: verify pressure traces and have a wire ready before selective injections.
Checklist before any injection
- Confirm catheter tip location in the aortic sinus by gentle pullback and visual cues.
- Observe the pressure waveform; never inject contrast if waveform suggests damping or occlusion.
- Keep a guidewire ready in the catheter when anatomy or coaxiality is uncertain.
- Choose your angiographic projection to reveal the ostium before manipulating the catheter.
Left coronary cannulation: step-by-step maneuvers
The left main coronary artery (LMCA) is usually straightforward, but difficulties arise when the ostium is not centrally located in the left coronary sinus. Start simple and progress methodically.
1. Standard approach
With the diagnostic catheter parked in the left coronary sinus, gently pull back while watching the catheter tip. When the tip begins moving up and down with the ostial rhythm and the pressure waveform is preserved, you are likely engaged. Confirm pressure and then proceed with selective injection.
2. Deep-breath maneuver
If the catheter does not engage with the simple pullback in the standard LAO/level view, ask the patient for a deep breath while the catheter remains in the left sinus. A deep inspiration often alters the aorto-coronary geometry transiently and can allow the catheter tip to slip into the ostium when you push the catheter down gently.
3. Use an end-on or RAO view to locate the ostium
When the ostium seems displaced posteriorly, an end-on view of the left coronary sinus is invaluable. Move to the right anterior oblique (RAO) projection to see the full sinus from posterior to anterior. A small non-selective injection in RAO will outline the sinus and help you locate if the LMCA origin is central or posterior.
Once you know where the ostium lies in the sinus, you can tailor catheter rotation: clockwise rotation tends to direct the tip anteriorly, while anti-clockwise rotation directs it posteriorly. Rotate the catheter until the tip lines up vertically beneath the ostium and then gently pull back or advance a little to seat the tip coaxially.
4. Avoid forceful pushing of the guide
Pushing the guide or catheter down aggressively to force engagement may work, but it is the most traumatic option. It risks damaging the ostium. Instead, prefer projection-based localization (RAO end-on view), precise rotation calibration, and gentle adjustments.
5. Make the guide coaxial with a wire
When cannulation is achieved but the catheter remains non-coaxial, advance a wire across the ostium immediately. The wire converts the catheter to a more coaxial position and reduces the chance of coronary trauma when you inject contrast forcefully.
Common left-side problems and solutions
Catheter preferentially entering the left circumflex (LCX) in short LM
In short left main anatomy the catheter often tracks into the LCX, and the proximal LAD is poorly visualized unless you push very forceful injections. To correct this:
- Move to the LAO cranial/level view where alignment with the LAD is clearer.
- Rotate the catheter slightly (often anti-clockwise) while withdrawing marginally. The catheter often sits in the LCX ostium; gentle rotation and slight pullback followed by a small push down will reorient the tip toward the LAD, allowing selective LAD engagement.
Right coronary cannulation: practical tips
The RCA usually engages easily when its ostium originates centrally in the right sinus. Difficulties appear when the RCA origin is high, low, anterior, or at the aortic wall.
1. Standard clockwise rotation
Rotate the catheter clockwise to align with a mid-sinus RCA origin. When engaged, confirm by pressure waveform and inject.
2. Catheter tracks into the conus or disengages on withdrawal
If the catheter tends to go into the conus or the pressure trace dampens, pull the catheter down slightly and rotate anti-clockwise. This often realigns the tip with the RCA ostium and restores a stable position for injection.
3. Neutralize the secondary curve with back-end wire technique
When the catheter keeps slipping or the tip faces the conus, use the back end of an 0.035 wire to neutralize the catheter’s secondary curve. Insert the blunt back end into the catheter; this straightens the secondary bend and makes the tip more horizontal. You can then drop the catheter a little to make it face downward and stay in the RCA. This is particularly helpful when the RCA origin is very low in the sinus.
4. RCA originating anteriorly or anomalously
For an RCA that arises from the anterior sinus, projection selection and catheter orientation are key:
- Rotate clockwise to bring the tip anterior-posterior in the standard view.
- Switch to an RAO projection to confirm whether the tip is anterior or posterior.
- Pull back slightly while giving a small non-selective injection in RAO. This will reveal the anterior ostium and facilitate engagement.

5. When selective engagement fails: three non-selective sinus injections
If you cannot selectively cannulate the RCA despite the maneuvers above, perform systematic non-selective injections in three positions to localize an anomalous origin:
- LAO with the catheter tip facing left of the panel. Inject to visualize the leftward sinus.
- RAO with the tip anterior in the right sinus. Inject to reveal an anterior RCA origin.
- LAO low projection with the catheter in the left sinus (tip anterior). Inject to look for an anomalous RCA arising from the left coronary sinus.
Once the ostium is identified non-selectively, choose a specific catheter shape tailored to the anomalous origin for safe selective cannulation.
Pitfalls, safety tips, and best practices
Small adjustments win. Pushing harder is rarely the best answer. Keep these rules in mind:
- Always check the pressure waveform before injecting. Damped pressure indicates partial occlusion and high risk for traumatic injection.
- Keep a wire handy during challenging cannulations. Advancing a wire after gentle engagement improves coaxiality and safety.
- Prefer projection-based localization over blind forceful advancement. RAO end-on views show the sinus from posterior to anterior and guide rotation decisions.
- Neutralize secondary curves when necessary with the back end of a wire to change catheter tip orientation safely.
- Avoid repeated forceful injections into a non-coaxial catheter. This can cause coronary dissection or ostial injury.
Quick decision flow for difficult cannulation
- Confirm catheter in sinus; check pressure waveform.
- Try simple pullback and gentle advancement while observing the tip.
- If unsuccessful, ask the patient for a deep breath and attempt engagement again.
- Switch to RAO end-on sinus view and inject non-selectively to locate the ostium.
- Rotate catheter clockwise or anti-clockwise based on ostial position and pull back or push slightly to align tip vertically beneath ostium.
- If still not coaxial, advance a guidewire to improve alignment before selective injection.
- Use back-end wire technique or select alternate catheter once ostium location is clear.
Tools and catheter selection—practical notes
Diagnostic catheters like Tiger or Judkins shapes are the workhorses. During angioplasty, guide catheters with better support are used, but the principles remain the same: localize the ostium first, achieve coaxiality, and avoid traumatic maneuvers.
If an anomalous origin is confirmed, choose a catheter with a primary/secondary curve combination that matches the ostial orientation. When in doubt, non-selective sinus injections in targeted projections are the clue to the correct catheter choice.

Common scenarios and how to approach them
Scenario: Large LMCA, easy cannulation
When the LMCA is large and centrally located, routine technique works reliably. Pullback, check pressure, selective injection, and complete the diagnostic series of projections for the left system.
Scenario: Short left main with catheter tracking into LCX
Use LAO cranial or level views to assess alignment and adjust rotation as described earlier. Slight withdrawal and anti-clockwise rotation will often disengage the LCX and align the tip toward the LAD.
Scenario: RCA origin very low in sinus
The back-end wire trick is especially helpful here. Straightening the secondary curve lets the catheter tip face downward so it can drop into the low RCA ostium without aggressive manipulation.
Final thoughts
Mastery of cannulation is about pattern recognition and incremental adjustments. Use projection strategy to reveal anatomy, rotate deliberately to align the tip, respect the pressure trace, and employ a wire early to make the system coaxial. These small habits reduce complications and speed up diagnostic and interventional procedures.
Frequently Asked Questions
How can I tell whether the catheter tip is aligned anteriorly or posteriorly relative to the ostium?
Use an RAO end-on view or rotate between LAO/RAO projections. In RAO the entire sinus from posterior to anterior is visualized, making it easy to see whether the catheter tip moves anteriorly with clockwise rotation or posteriorly with anti-clockwise rotation.
What should I do if the catheter keeps entering the left circumflex in a short left main?
Move to an LAO/level projection, withdraw slightly and rotate the catheter anti-clockwise while applying a gentle push. This maneuver tends to disengage the LCX ostium and redirect the catheter toward the LAD.
Is it safe to push the guide down aggressively to engage a difficult left main?
No. Forceful advancement is the most traumatic option and may injure the ostium. Prefer projection-directed rotation and gentle maneuvers. If support is needed, use a wire to improve coaxiality rather than brute force.
When should I use the back end of an 0.035 wire inside the catheter?
Use the back-end technique when the catheter’s secondary curve causes the tip to face the conus or when the RCA origin is very low. The blunt back end straightens the secondary curve, making the tip more horizontal and easier to drop into a low ostium.
How do I proceed if I cannot selectively cannulate an anomalous RCA?
Perform non-selective injections in three projections: LAO with the tip left of the panel, RAO with the tip anterior in the right sinus, and LAO low with the catheter in the left sinus facing anterior. These injections will usually reveal the anomalous origin and guide catheter selection.
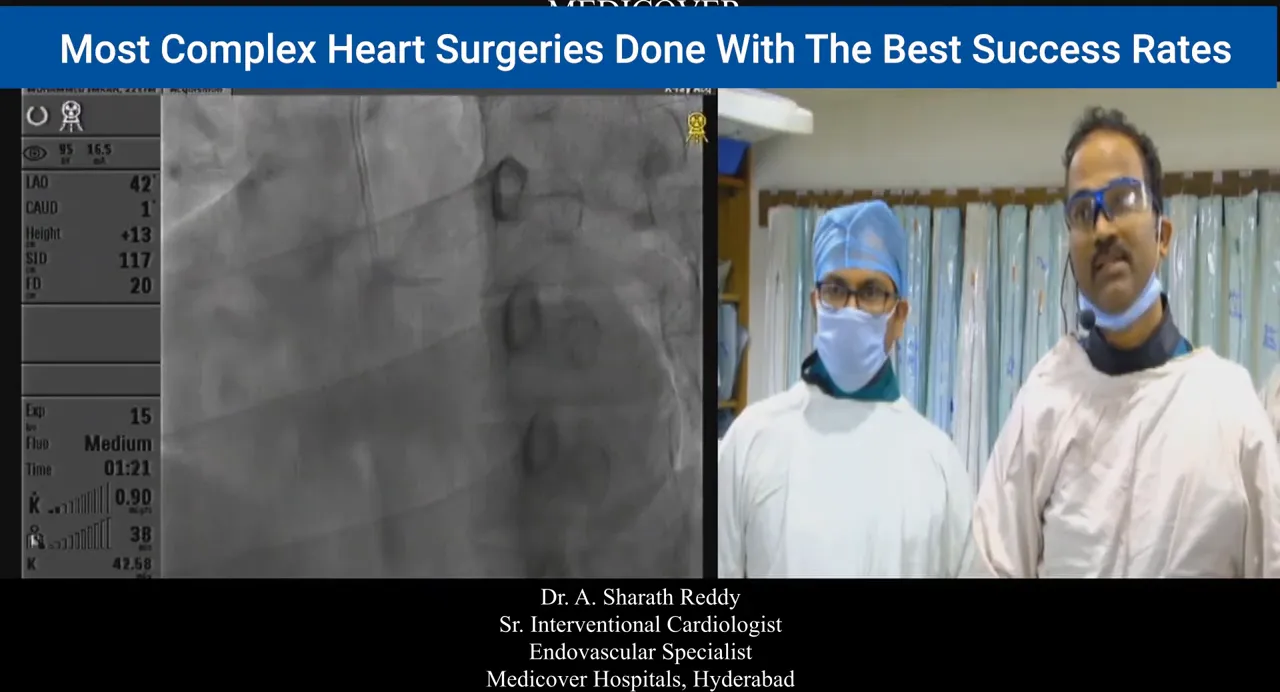
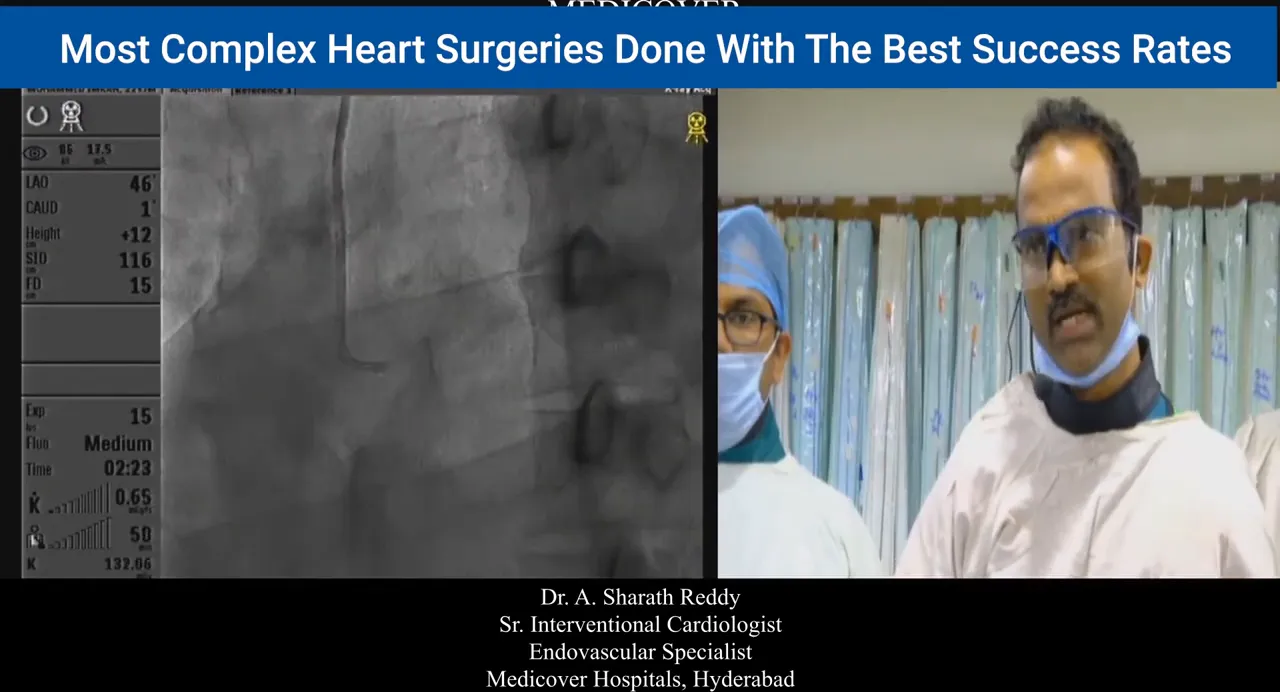
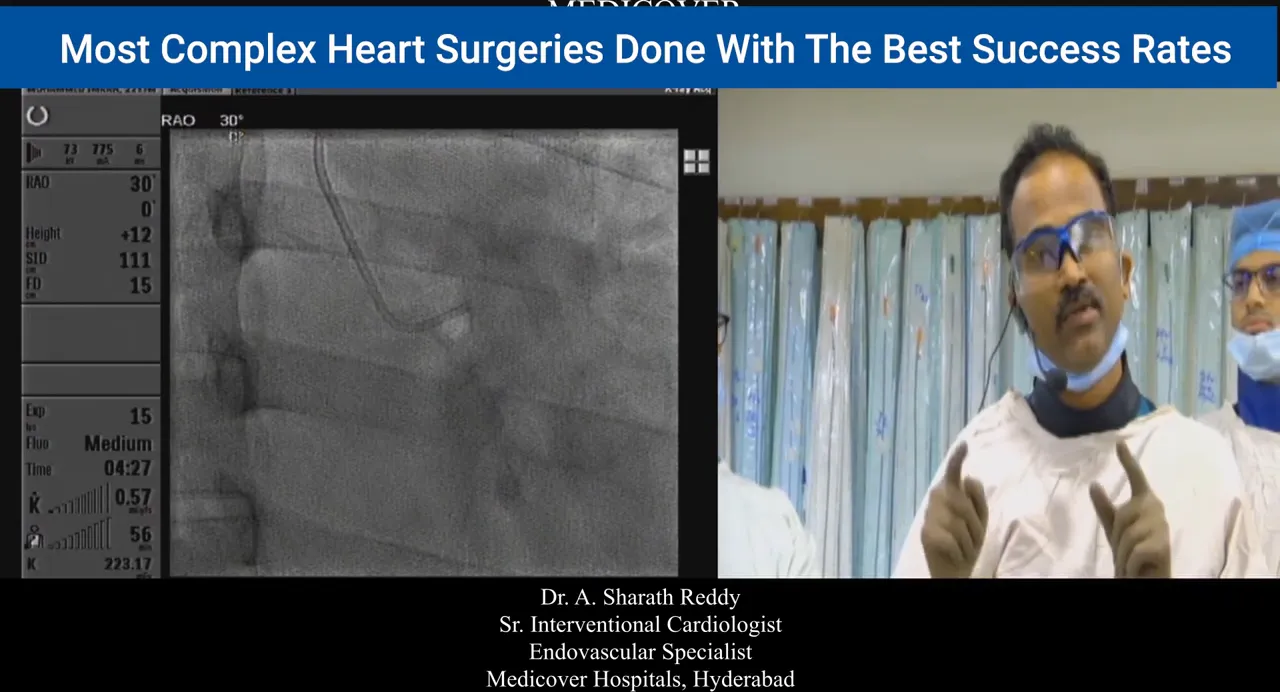
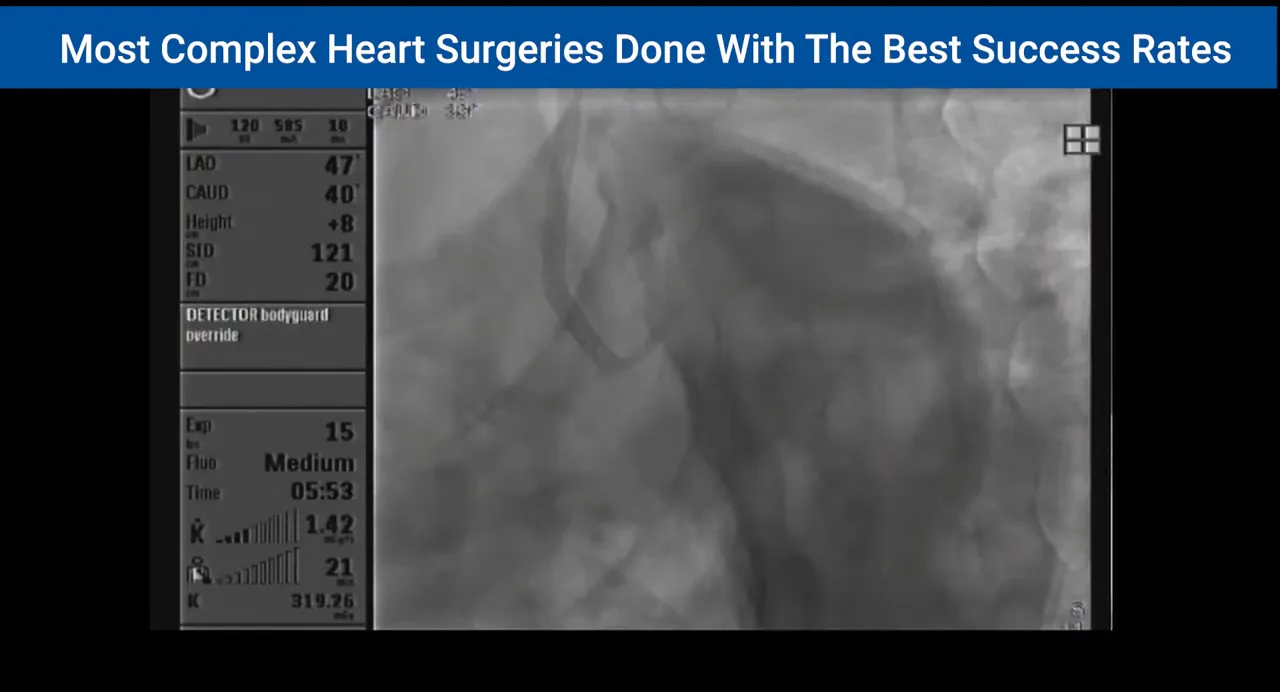
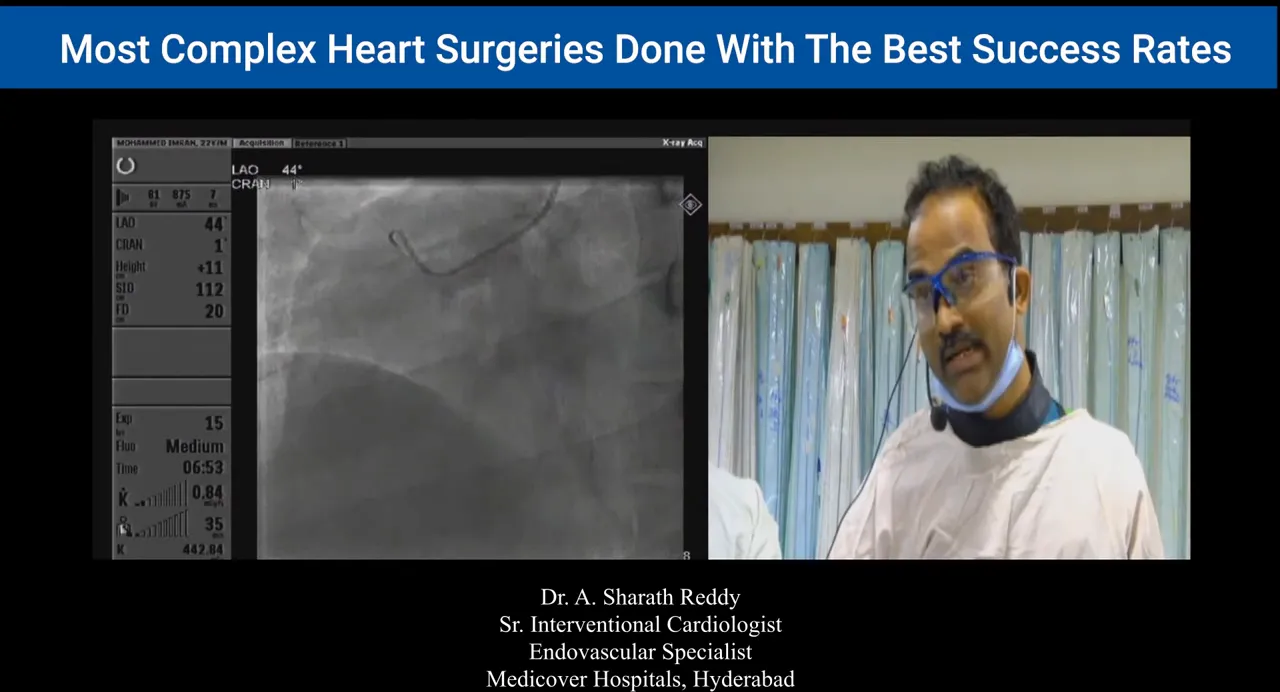
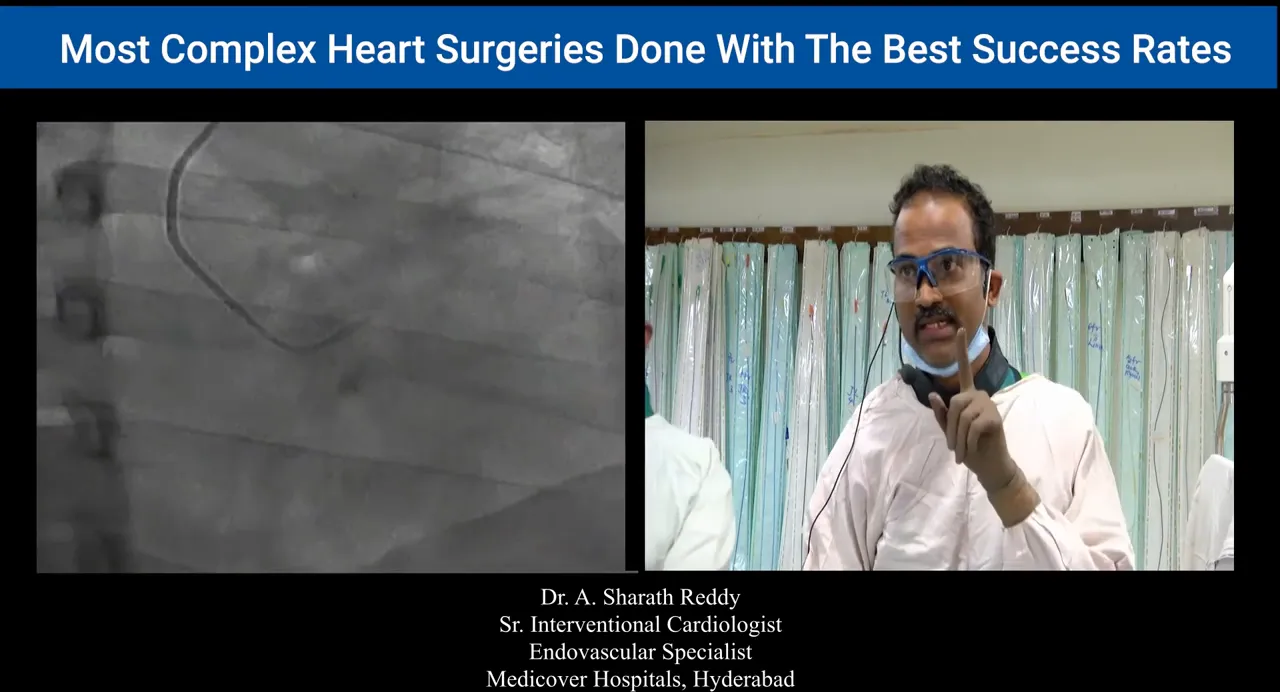
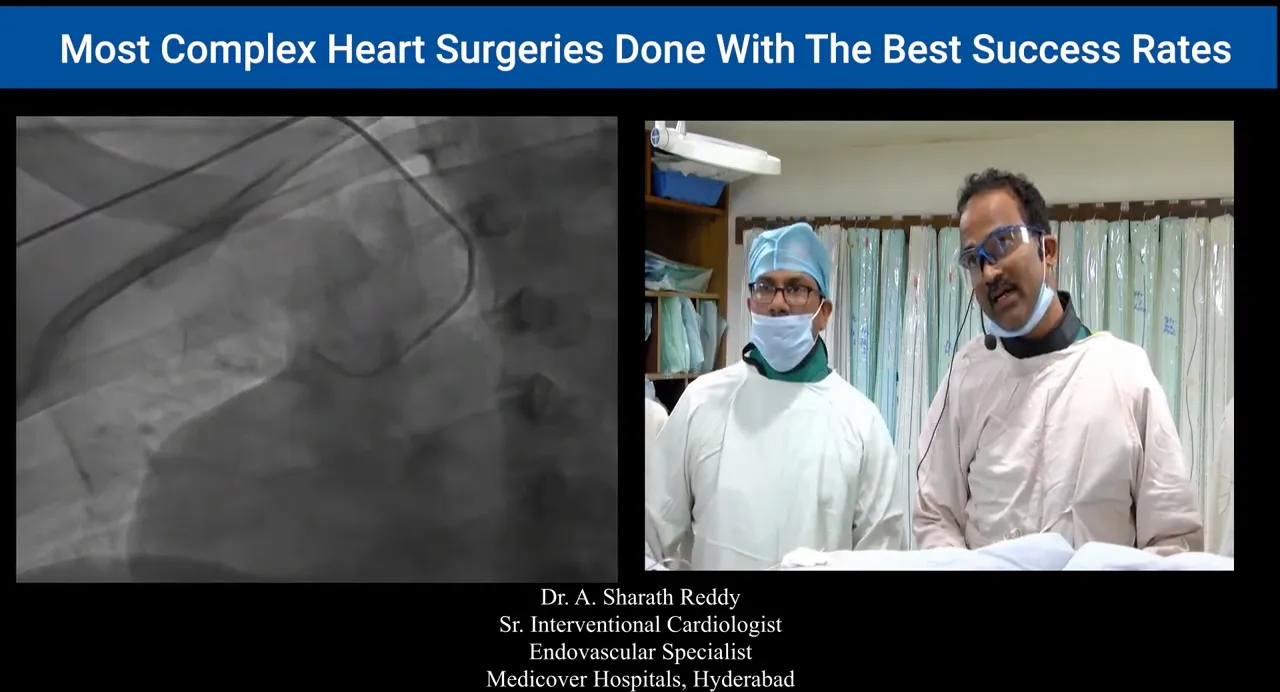
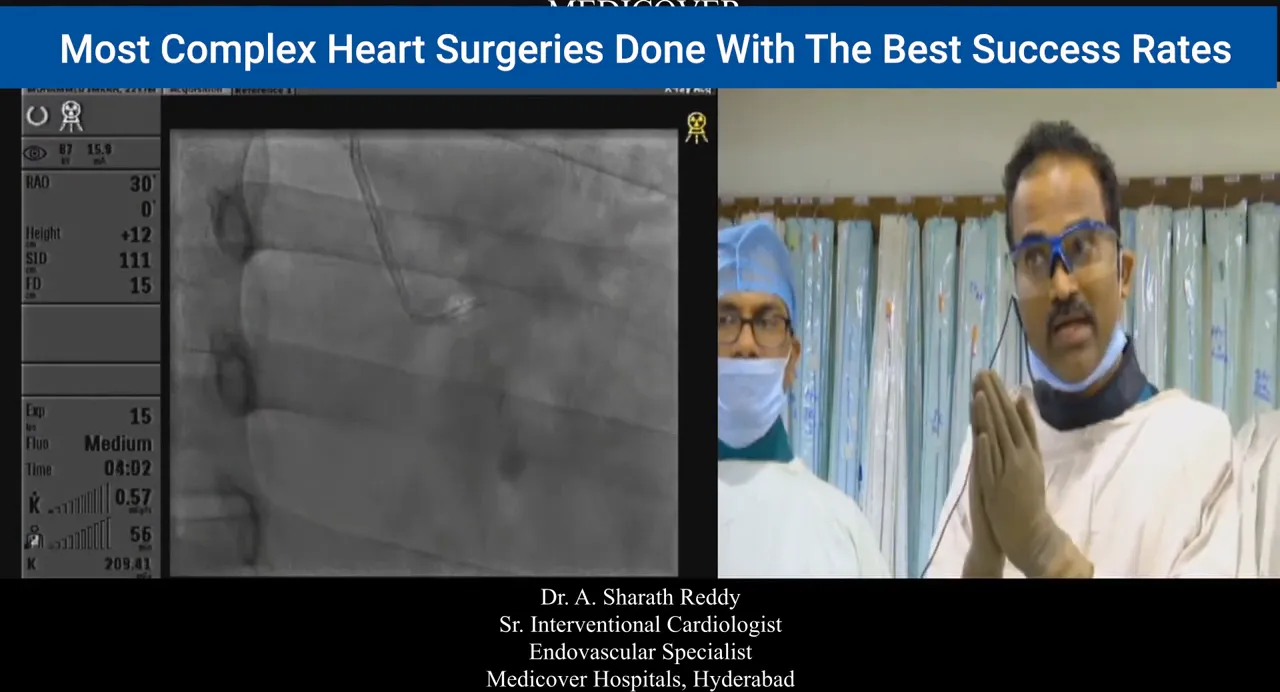
Selected visual references
The images above correspond to key moments during cannulation: catheter parked in the left sinus, RAO end-on sinus injection, rotation maneuvers, back-end wire neutralization, and non-selective sinus injection strategies for anomalous coronaries.
Summary
Successful coronary cannulation blends anatomy, imaging, and small but precise catheter movements. Prioritize projection-based localization, respect the pressure waveform, and use wires to improve coaxiality. These steps will make angiography and angioplasty safer and more efficient, whether the anatomy is straightforward or anomalous.

No Comments