How to Make a Covered Stent: Live Bailout Technique for Coronary Perforation
The Live Bailout Technique is a pragmatic, on-the-spot method to create a covered stent when a factory-made covered stent is not immediately available in the catheterization laboratory. This approach can serve as an emergency bailout for coronary perforation. The aim is to convert two conventional stents and a balloon into a temporary covered stent that seals the perforation and allows hemostasis while definitive management is arranged.
When and Why to Use the Live Bailout Technique
This technique is intended for urgent salvage situations, most commonly coronary perforations that require immediate sealing. It is not a routine substitute for purpose-built covered stents, but it can be lifesaving when a dedicated covered stent is unavailable.
Key Principles
- Seal the breach quickly: The shorter outer stent provides the covered layer that must overlap the perforation.
- Maintain vessel size match: Choose stent diameters compatible with artery size, typically 3 mm in many epicardial coronary settings.
- Crimp securely: The outer covered layer must be well-crimped to the inner stent to allow safe delivery.
Equipment and Materials
- Two compatible stents of the same diameter but different lengths.
- One short stent (example 16 mm).
- One longer stent (example 28 mm).
- A stent mounted on a balloon with balloon material beneath the stent.
- Scissors or a fine cutting instrument suitable for trimming the balloon under sterile conditions.
- Crimper or manual technique to crimp the outer stent onto the inner stent.
- PTCA wire and standard delivery equipment.
Step-by-Step Live Bailout Technique
1. Select Stents and Inspect
Choose two stents that fit the artery diameter. In many cases, 3 mm stents are commonly used. The shorter stent acts as the covered portion, while the longer stent becomes the inner support.
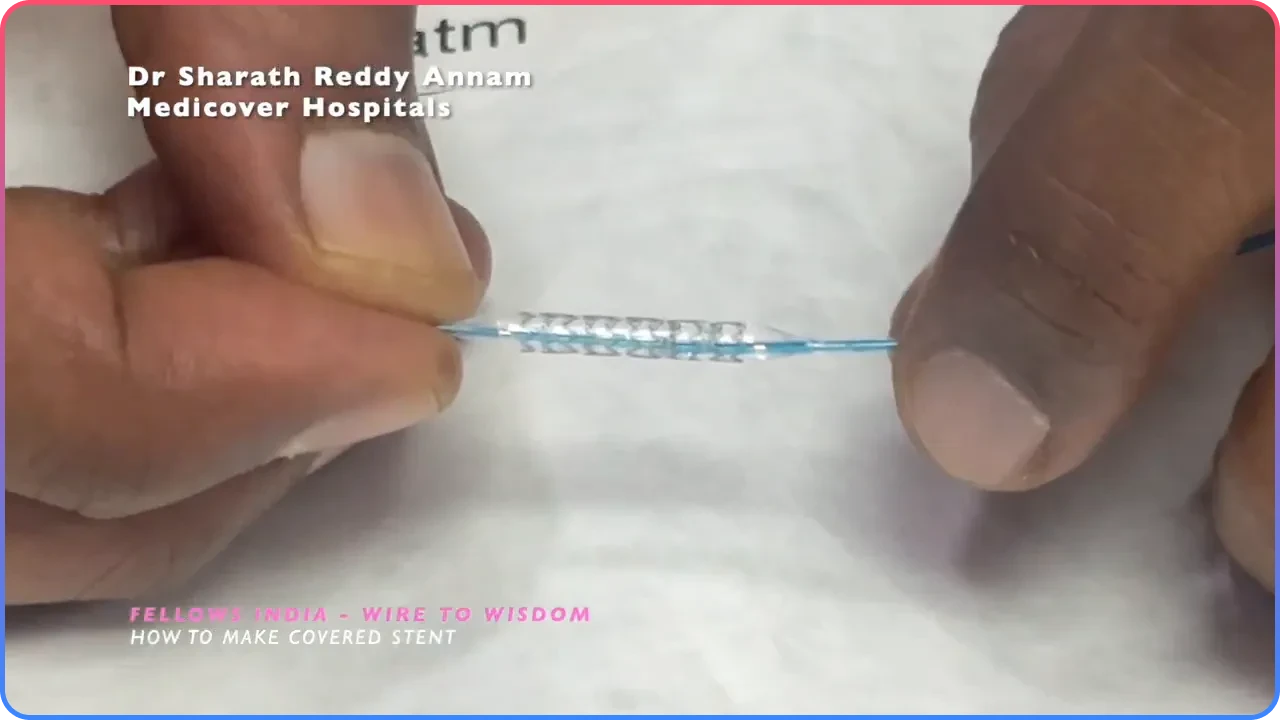
2. Prepare the Balloon Covering
Fully inflate the balloon under the outer stent to expose and stretch the balloon material beneath the stent frame. This balloon film will act as the covered layer once trimmed and retained under the outer stent.
3. Trim the Balloon Material
Using fine scissors, carefully cut the balloon material on either side of the stent. The goal is to remove the central lumen of the balloon while leaving the balloon sheath attached to the stent frame.
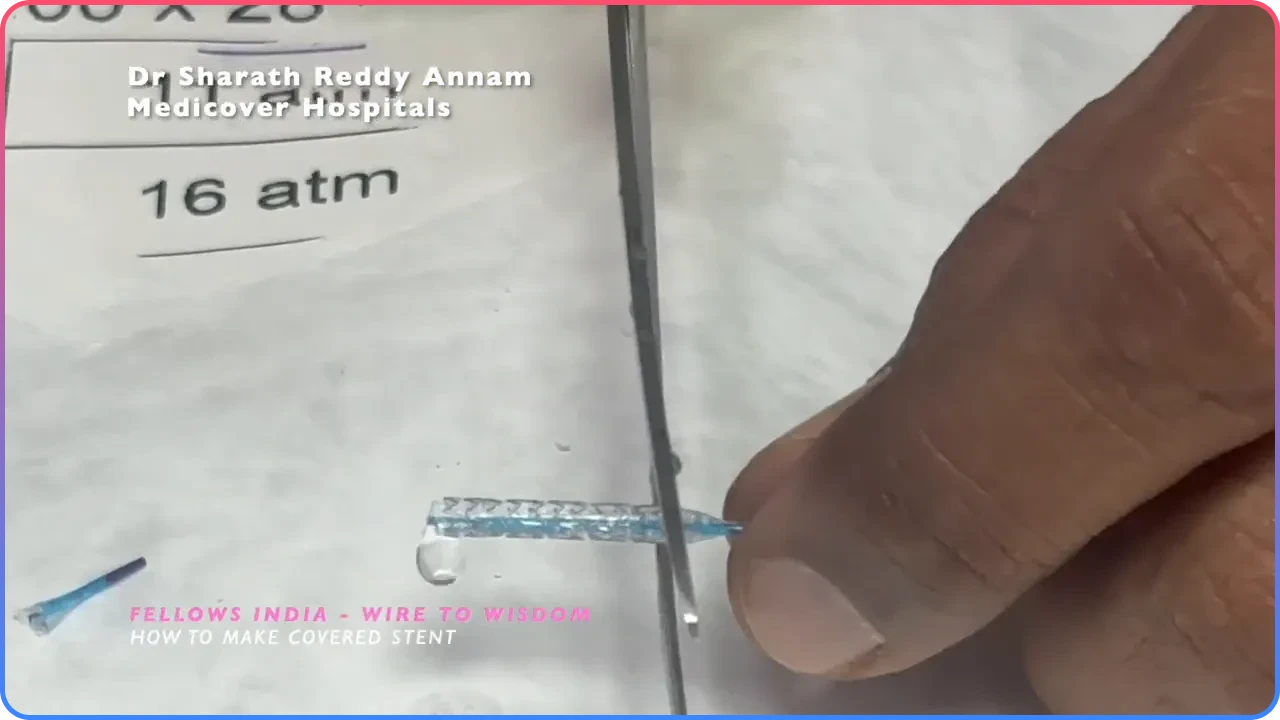
4. Remove the Central Balloon Lumen
After cutting, remove the central portion of the balloon lumen so that only the balloon film adhered beneath the stent frame remains. This film functions as the covered layer once deployed.
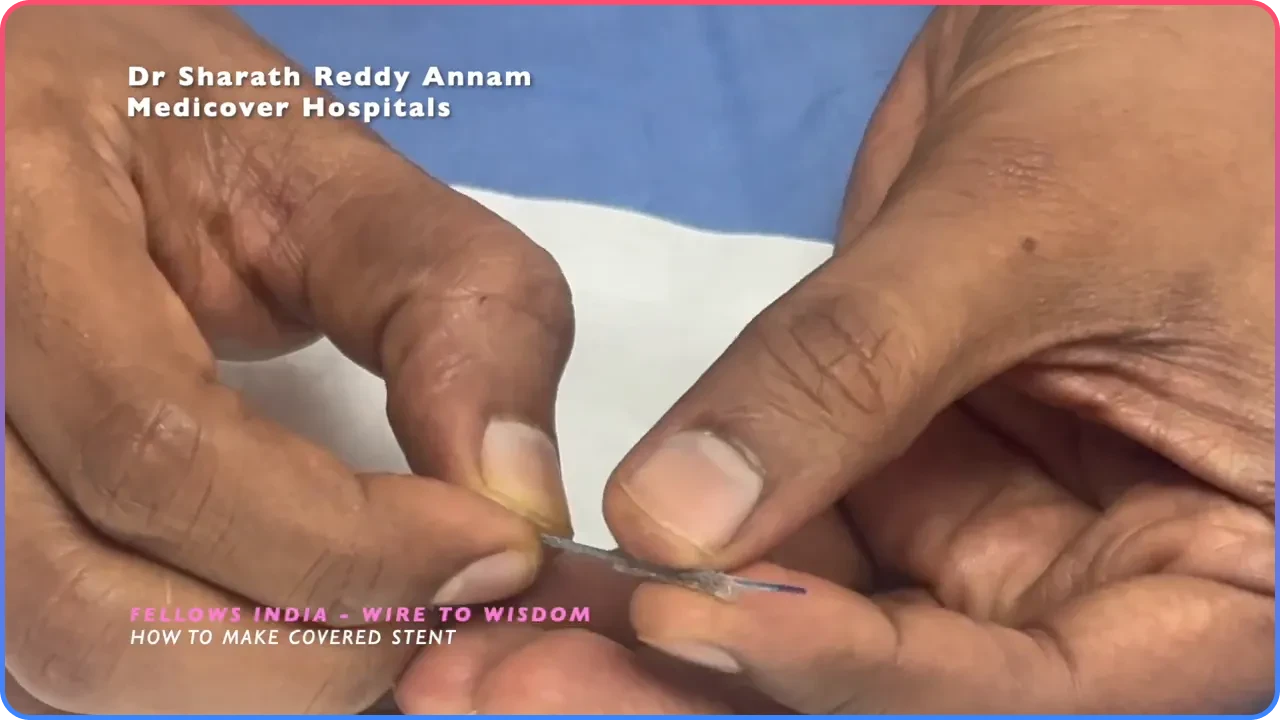
5. Mount the Inner Longer Stent
Take the longer stent and slide it over the prepared short covered stent assembly. The longer stent becomes the inner scaffold while the shorter stent with its balloon film remains the outer covered element.
6. Crimp the Outer Stent onto the Inner Stent
Crimp the shorter outer stent securely onto the longer inner stent to create a single delivery unit. Confirm that the covered region corresponds precisely to the intended perforation zone.
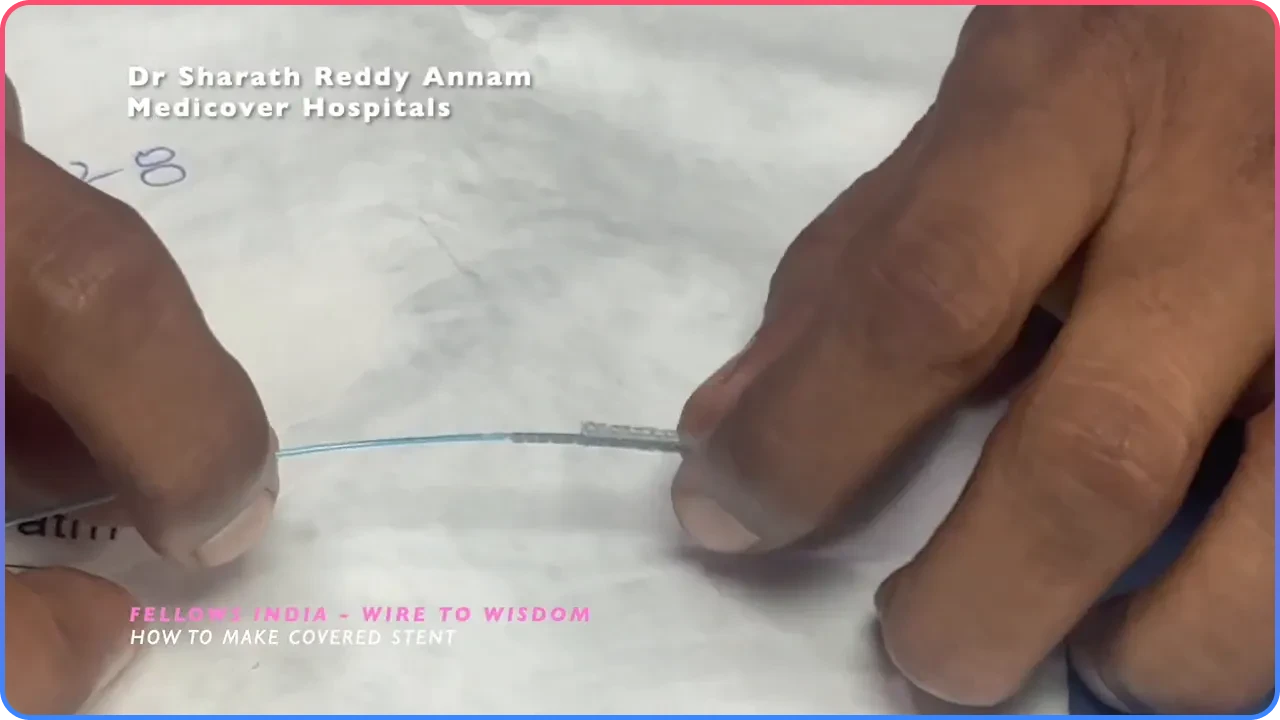
7. Deliver to the Target Lesion
Advance the assembled stent on the PTCA wire to the site of perforation. Position carefully so the shorter outer covered portion completely overlaps the perforation.
8. Deploy and Confirm
Deploy the stent normally. Once released, deflate the balloon and withdraw the equipment. Confirm sealing angiographically and by hemodynamic assessment.
Practical Tips and Pearls
- Plan sizing carefully: The shorter outer stent must completely cover the perforation.
- Work cleanly: Maintain strict sterility while modifying devices.
- Confirm coverage before deployment: Ensure the covered segment sits squarely over the tear.
- Have backup strategies ready: Prepare for prolonged procedural time and possible surgical backup.
Contraindications and Cautions
This is an emergency bailout measure. Modifying devices is off-label and carries risks including device failure, embolization of components, or incomplete sealing. Use only when the clinical situation justifies improvisation and when no immediately available covered stent exists.
Troubleshooting
If the assembled unit cannot be delivered
Consider upsizing the guide catheter or adjusting the access route if the assembly is too bulky.
If the covered layer does not deploy cleanly
Avoid aggressive overdilation. Evaluate the risk of rupture propagation and consider alternative management.
If angiographic sealing is incomplete
Consider prolonged balloon tamponade, additional stenting, or urgent surgical consultation.
Final Thoughts
The Live Bailout Technique is a valuable emergency strategy when dedicated covered stents are unavailable during coronary perforation. Although off-label, this improvised approach can provide rapid sealing and stabilize the patient long enough for definitive management.
Important: This technique should only be performed by experienced interventional cardiologists in carefully selected emergency situations with full awareness of the associated risks.
Frequently Asked Questions
The Live Bailout Technique is an improvised method to create a covered stent by combining two conventional stents and the balloon material beneath one stent to produce a covered segment. It is used as an emergency solution to seal coronary perforations when a premanufactured covered stent is unavailable.
Stent diameter should match the artery, commonly 3 mm in many epicardial coronaries. A shorter outer stent acts as the covered segment, while a longer inner stent provides support and deliverability.
Modifying devices is off-label and not a substitute for purpose-built covered stents. The technique carries additional risks and should only be reserved for emergency bailout situations.
Potential complications include incomplete sealing, device failure, embolization of modified components, and further vessel injury. Always prepare for pericardial drainage and surgical backup if required.